
Today I've finally tried the effect caviar nail art and I can't wait to show you it! I used the Bubble Pupa's kit (the one given to me at my birthday). Now I'll show you how I did it, step by step with the help of photographs:


1. I put a transparent base


2. I put the first layer of pink Glossy Nail Polish (lasting color)

3. Ho aspettato 5 minuti
3. I waited 5 minutes

4. Ho passato il secondo strato di smalto brillante rosa (lasting color)
4. I put the second layer of pink Glossy Nail Polish (lasting color)

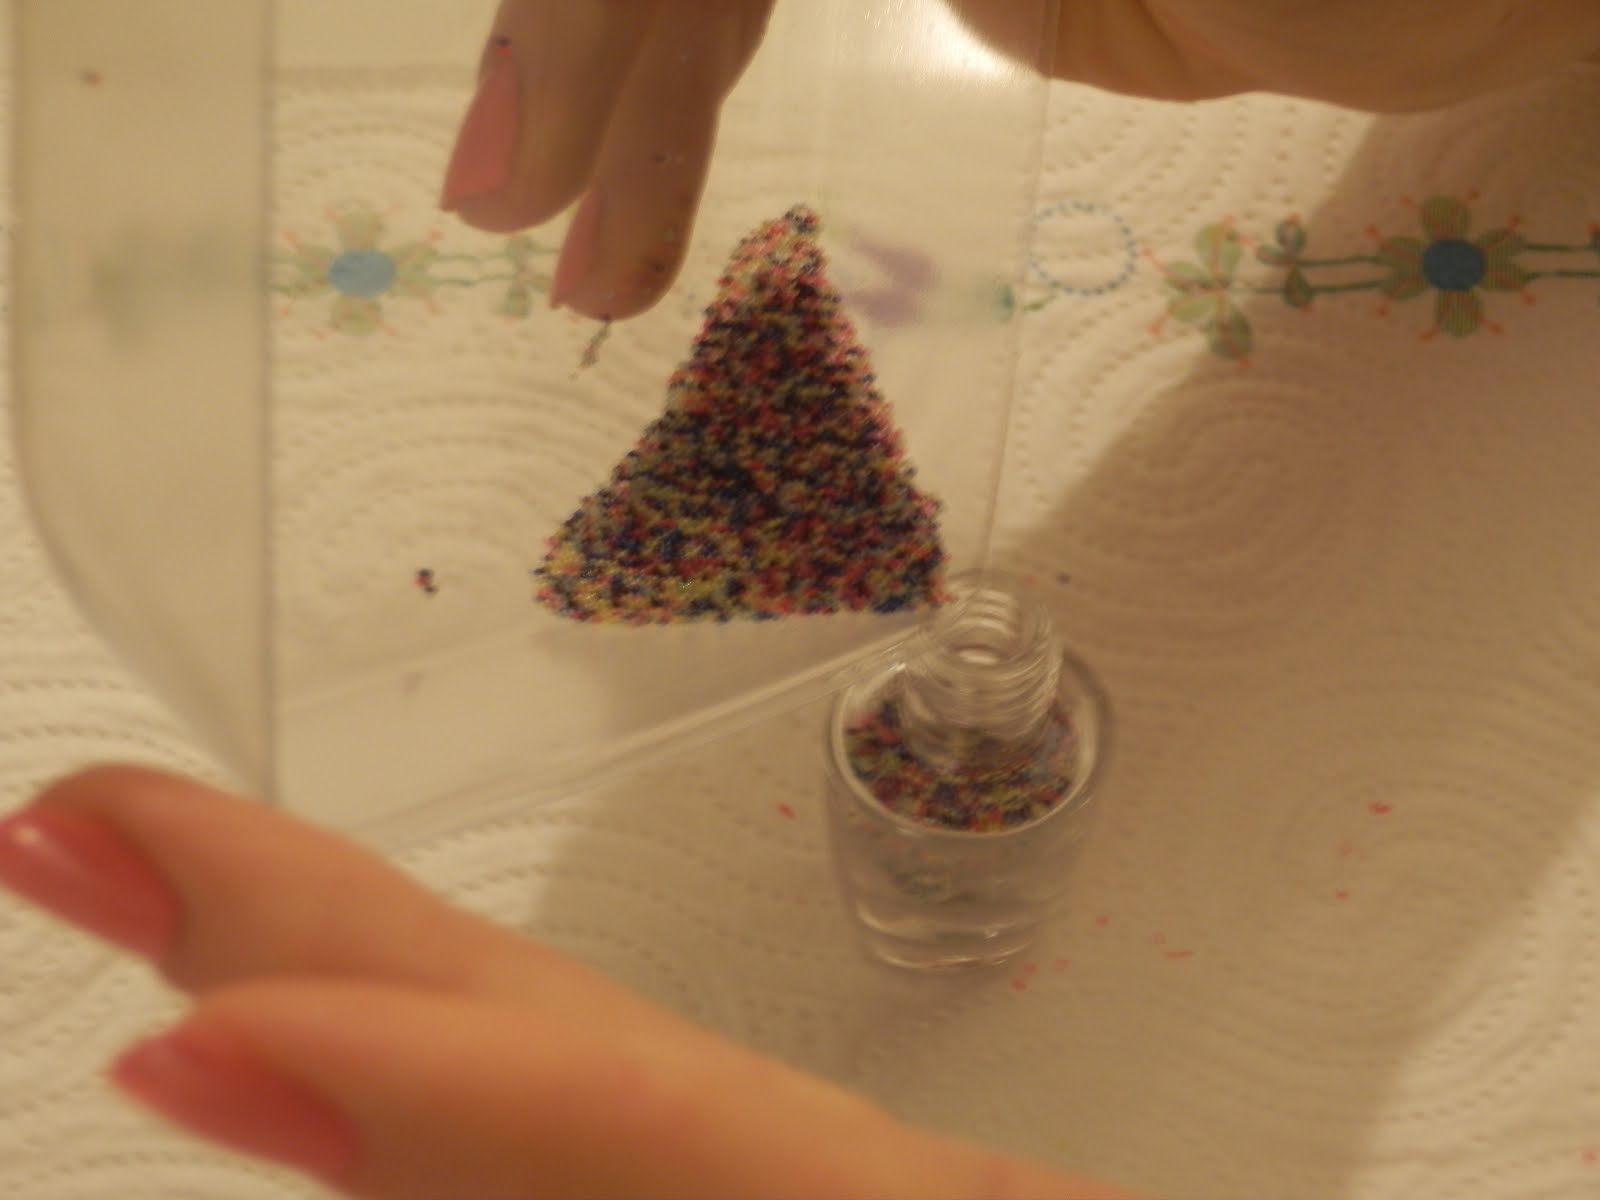
5. Agitare il barattolo con le perline colorate
5. Shake the jar with color beads

6. Ho usato il coperchio del contenitore come base di lavoro
6. I used the lid of the container as a working basis

7. Ho subito rovesciato le perline colorate sullo smalto bagnato e
7. I immediately spilled the color beads on the wet nail polish and


8. Con il dito ho pressato le perline per farle aderire bene
8. With my finger I pressed the beads to make them stick well
9. Ho rimesso le perline in eccesso nel barattolo ed ho atteso 15 minuti affinchè lo smalto si asciugasse completamente
9. I put back the beads in excess in the jar and I waited 15 minutes for the completely polish drying

10. Et voila!!! Unghie finite!! :)
10. Et voila!!! Candy nails finished!! :)


Don't forget to follow me on my Facebook page
and on: Italianfashionbloggers.com
Nessun commento:
Posta un commento